
Ray of Light
sometimes we want a photo with the look of ROL (Ray of Light) to look more dramatic. but for the moment as it gets extremely difficult, should the clouds and weather conditions that favor. (hope appears light ROL) This time I tried to make a tutorial how to create ROL with PhotoshopStage 1.
prepare a photo you wish to edit.This time I use 2 pcs photo
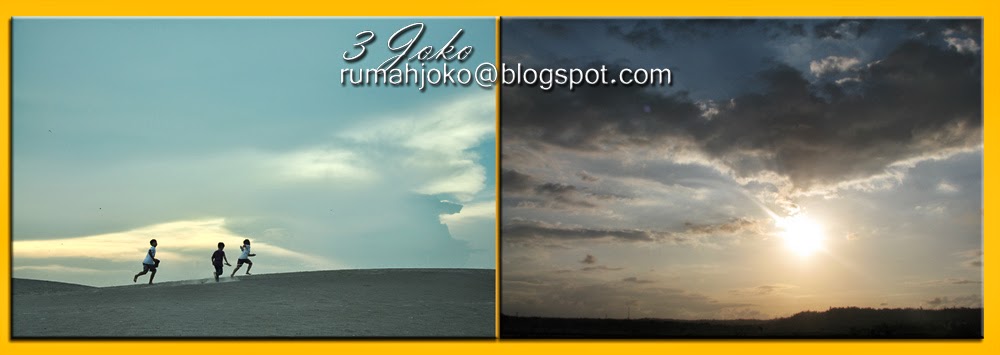
here other than I'll make a tutorial to make ROL, and tells how to change the clouds on a photo.
Stage 2
Combine first and second photos into oneusing drag images to the image layer 1 to layer 2, the results are as shown below
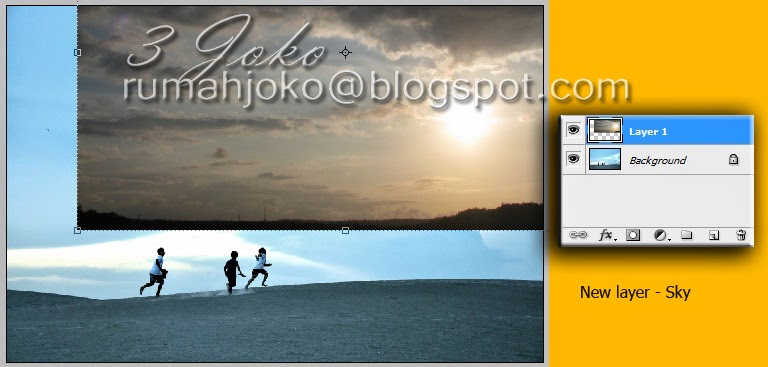
Put the sky layer (be layer1) layer on top of the child who ran (background)
Stage 3
Change cloud
then copy / duplicate layer backgroud into layer (Background copy),
Put the position of the layer (Background copy) to the top layer. as shown below.
then set the blending mode to Multiply. and finally the third image will look like fused image, namely cloud, and children who ran the look of the frame.

This Stage I already explained how to incorporate cloud or change the sky
Stage 4
at this stage I will explain how to make the sky look like emitting Ray of Light (ROL)
click the first layer 1, duplicate layer1-cloud in a way (ctrl + j).
looks like a small window at the bottom.
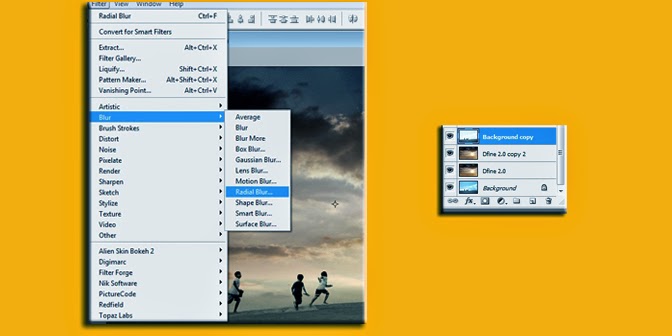
The next step we will make the Radial blur on a duplicate layer that we had,
in a way (Filter-Blur-Radial Blur)
and will be out a small window on the screen, set as shown below
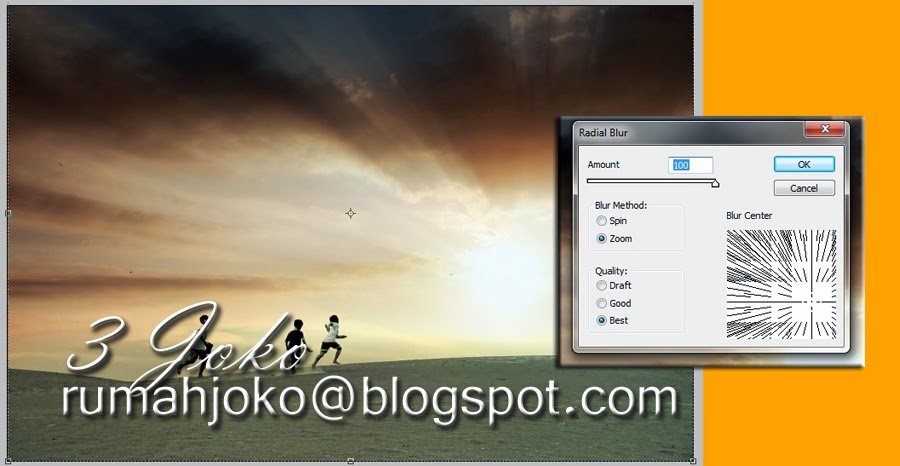
once pressed OK then the image will appear as shown above.
then the image is ready to emit visible light clouds.
Last we incorporate the entire layer by (Layer-Flatern Image)
Stage 5
in this stage the picture still looks dark (Under) due to the influence of earlier Multiply.
we combine the whole layer, we will arrange Brightnes and contras and also levels. the latter stages set the tone this photo as a tutorial how I ever taught in this blog.
==== good luck ====
No comments:
Post a Comment