
-->
An easy way to create ROL (Ray of Light)
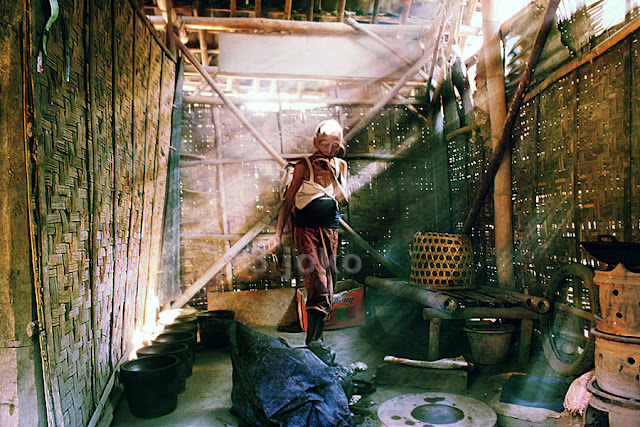
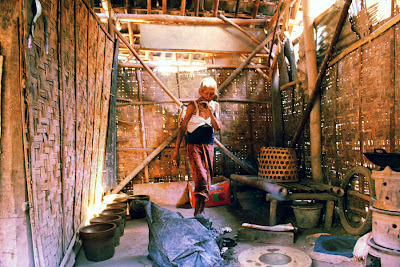
in a photograph, sometimes we want to shoot the object with an additional light beam .. but sometimes it is very difficult to get that time. in this tutorial I want to teach you how to make artificial light rays with the help of Photoshop1. The first stage
2. The second phase
3. The third stage
Section will be limited to no exposure, in embezzled. The trick with the burn tool or the brush tool with black foreground.
4. The fourth stage

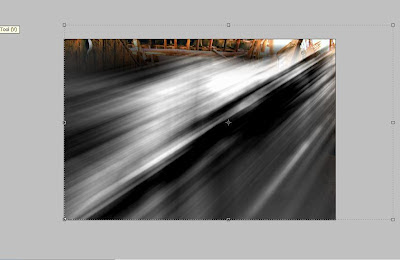
because the last layer 2 we have minimized the width and height, then the result bluring not full, so needs to be enlarged, I click on the layer and then drag the points at the end until all results bluring canvas near or arrangement made possible, adjusted
Next, change the blending mode of Layer 2 had become SCREEN (only the white part and which is shown), how to set the layer blending mode click on the small box of "NORMAL" changed to SCREEN
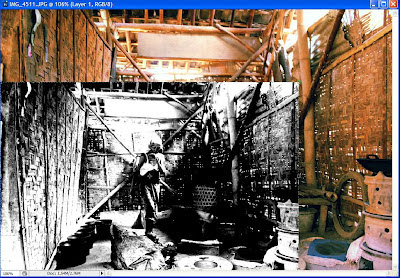
Duplicate Layer 1 Channel Mixer (layer2), then place in the top row, then give the highpass filter with overlay blending mode. Click way to FILTER> OTHER> HIGH PASS and set a radius of 30 pixels (this depends on your taste, the greater the number of pixels, the more extreme AFP beam (light) her.
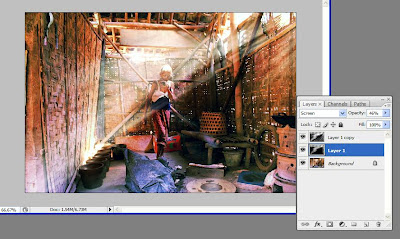
It is finished. Usually the steps for ROL can not completely finished, because the results are often unsatisfactory, so it should dicoa try again until the results are satisfactory. The results of a series of Effect Ray-of-Light on top, like the picture above Sample ..
5. Stage Five
6. Stage to six
No comments:
Post a Comment